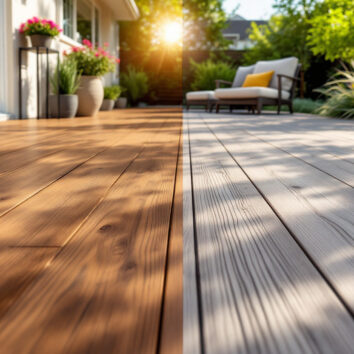
Why Choose Whitewashing for Your Floorboards?
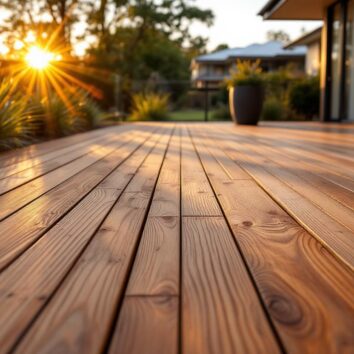
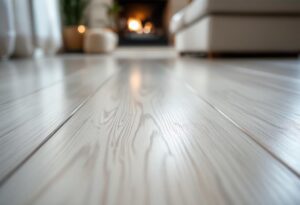
Whitewashing offers several benefits, especially for Australian homes where timber floors are prevalent. It lightens dark or worn timber, making rooms appear larger and more inviting. Unlike painting, whitewashing allows the natural texture and grain of the wood to show through, preserving the timber’s character. This technique not only enhances the aesthetic appeal of your floors but also aligns with a growing trend towards more sustainable and eco-friendly home improvements.
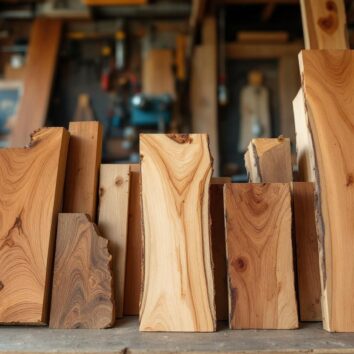
For pine timber floors, which are widely used across Australia due to their affordability and versatility, whitewashing is an excellent option. Pine’s fine texture and even grain respond well to whitewash, enhancing its natural beauty without masking it. Additionally, whitewashing is less invasive than sanding or staining, making it a suitable choice for older floors that may not withstand heavy refinishing. This method also allows homeowners to achieve a fresh look without the need for extensive renovations, making it a practical choice for those looking to update their interiors on a budget.
Benefits of Whitewashing Pine Timber Floors
Pine timber is a popular softwood in Australian construction and flooring due to its workability and cost-effectiveness. Whitewashing pine floors can:
- Brighten rooms by reflecting more natural light
- Highlight the wood’s grain and knots, adding rustic charm
- Protect the timber while maintaining breathability
- Offer a budget-friendly alternative to full sanding and staining
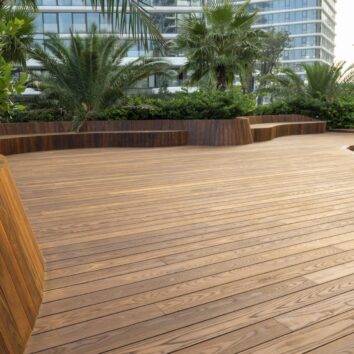
Moreover, whitewashing can also be a fantastic way to create a cohesive design throughout your home. By using a similar whitewashed finish in various rooms, you can establish a harmonious flow that ties different spaces together. This is particularly beneficial in open-plan living areas, where the transition between spaces can sometimes feel disjointed. The soft, muted tones of whitewashed floors can complement a wide range of decor styles, from coastal and Scandinavian to modern minimalist, making it a versatile choice for any homeowner.
Another important aspect to consider is the maintenance of whitewashed floors. Unlike darker stains that may show dust and scratches more readily, whitewashed surfaces can be more forgiving. Regular cleaning with a damp mop and gentle cleanser can keep them looking fresh, while periodic touch-ups with whitewash can rejuvenate the finish over time. This ease of maintenance is particularly appealing for families with children or pets, where durability and practicality are key considerations in flooring choices.
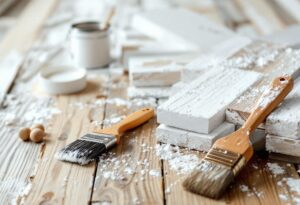
Materials and Tools Needed for Whitewashing Floorboards
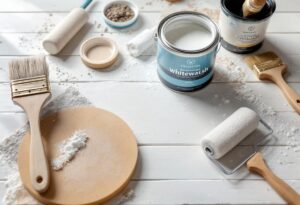
Before starting, gather all necessary materials and tools to ensure a smooth process. Here’s what you’ll need:
- Whitewash mixture: Typically a diluted white paint or lime wash suitable for timber floors
- Sandpaper or floor sander: To prepare the surface by removing old finishes and smoothing the boards
- Vacuum cleaner or broom: For cleaning dust and debris
- Paintbrushes or rollers: For applying the whitewash evenly
- Rags or cloths: To wipe off excess whitewash and create the desired look
- Protective gear: Gloves, mask, and eyewear for safety
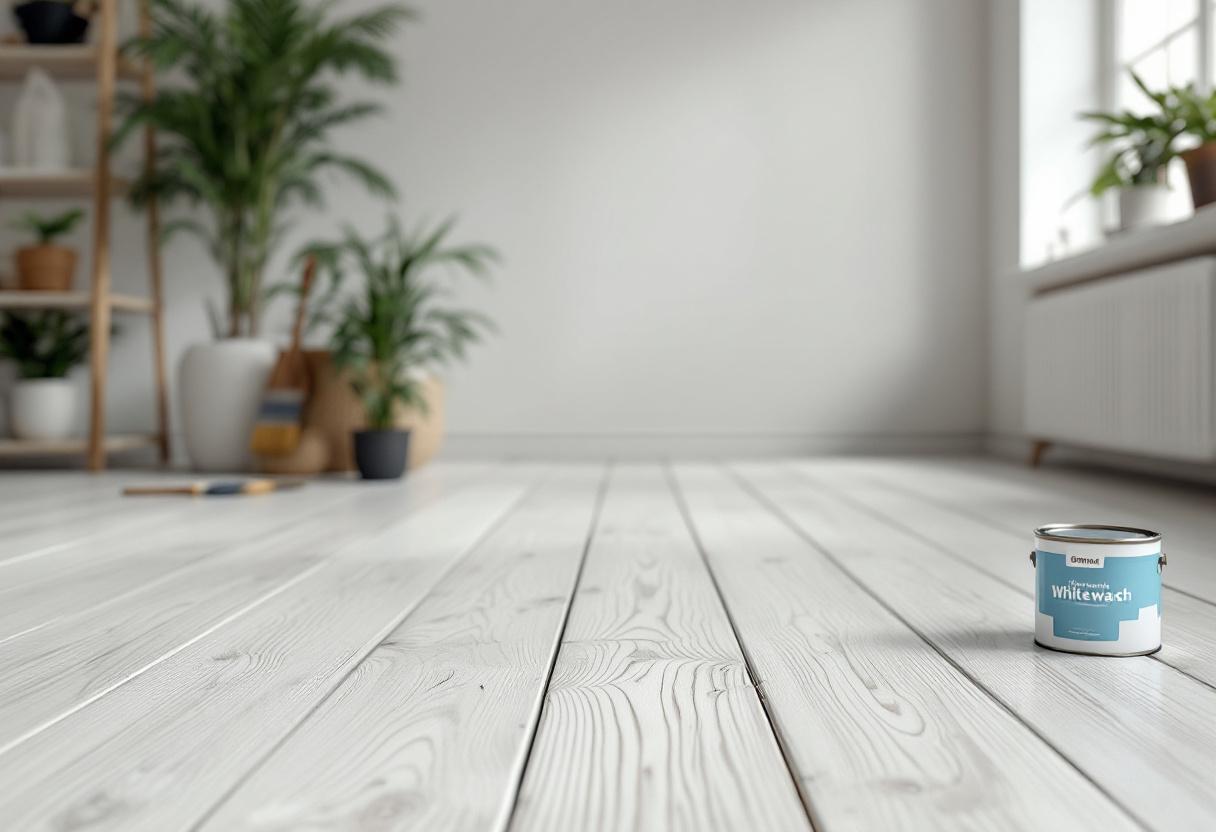
- Sealer or finish: A clear, water-based polyurethane or wax to protect the whitewashed floor
Choosing the right whitewash is crucial. For Australian timber floors, a water-based whitewash is recommended as it is environmentally friendly and less toxic. It also penetrates pine and other softwoods effectively without causing damage.
Step-by-Step Process to Whitewash Floorboards
1. Preparing the Floor
Preparation is key to a successful whitewash. Start by removing all furniture and rugs from the room. Thoroughly clean the floor to remove dust, dirt, and grease. If your floorboards have an existing finish, you’ll need to sand them back to bare wood using a floor sander or hand sandpaper for smaller areas. This step ensures the whitewash adheres properly.
After sanding, vacuum and wipe the floor with a damp cloth to remove all dust particles. Allow the floor to dry completely before proceeding.
2. Mixing the Whitewash
Prepare your whitewash mixture according to the product instructions. A common DIY method is to dilute white acrylic paint with water, typically in a 1:1 ratio, but this can be adjusted depending on the desired opacity. Test the mixture on a small, inconspicuous area to ensure you achieve the look you want.
3. Applying the Whitewash
Using a paintbrush or roller, apply the whitewash evenly across the floorboards, working in manageable sections. Brush along the grain of the wood for a natural finish. Immediately after application, use a clean rag to wipe off excess whitewash, controlling the coverage and allowing the wood grain to show through.
For a lighter effect, wipe more thoroughly; for a more opaque finish, leave more whitewash on the surface. Allow the first coat to dry completely, which can take several hours depending on Australian climate conditions.
4. Applying Additional Coats
Once dry, assess if a second or third coat is necessary to achieve your desired look. Repeat the application and wiping process for each coat, ensuring each layer dries fully before applying the next. Multiple thin coats provide a more durable and attractive finish than a single thick coat.
5. Sealing the Floor
After the final coat of whitewash has dried, protect your floor with a clear, water-based sealer or polyurethane. This step is essential in Australian homes to safeguard against wear, moisture, and dirt. Apply the sealer evenly with a clean brush or roller, following the manufacturer’s instructions. Allow the floor to dry thoroughly before moving furniture back in.
Tips for Maintaining Whitewashed Floorboards in Australian Homes
Whitewashed floors require regular care to maintain their appearance, especially in high-traffic areas common in Australian households. Here are some maintenance tips:
- Use rugs or mats: Place these in entryways and high-use areas to reduce dirt and wear.
- Clean regularly: Sweep or vacuum to remove dust and grit that can scratch the surface.
- Use gentle cleaning products: Avoid harsh chemicals; instead, use a damp mop with mild detergent suitable for timber floors.
- Reapply sealer: Depending on wear, reseal the floor every few years to maintain protection.
- Avoid excessive moisture: Wipe up spills promptly to prevent damage and potential rot, especially important for pine timber which, while moisture-resistant, can still be vulnerable if untreated.